
Travel planning guide
How to use a printable travel planner without overplanning your trip
A practical method for choosing, printing and using travel planner pages without turning a vacation into a rigid schedule.
Start with decisions, not pages
A travel planner is most useful when it reduces the number of details you have to remember. It should not create a second job. Before printing anything, write down the decisions that can affect the rest of the trip: dates, destination, transportation, lodging and the people traveling with you.
Once those are clear, choose only the pages that support the trip you are actually taking. A weekend getaway may need one itinerary, a reservation list and a packing checklist. An international trip may also need document, budget, insurance and transportation pages.
Build a small planning packet
Print one working copy first. Keep the most frequently checked page at the front and reference pages behind it. If you use a tablet, keep the same order in your PDF annotation app so the packet remains easy to scan during a busy travel day.
- Trip overview with dates, destination and confirmation numbers
- One master itinerary for fixed plans
- Reservations and transportation details
- A packing list tailored to the weather and activities
- Emergency contacts and essential health information
Separate fixed plans from flexible ideas
Put flights, check-in windows, ticketed activities and other time-sensitive plans on the main itinerary. Keep restaurants, scenic stops and optional activities on a separate wishlist. That distinction makes it obvious what must happen and what can change.
Leave open space in each day. Travel takes longer than a map estimate, and a good plan should absorb delays instead of making every change feel like a failure.
Do one final review, then stop planning
Two or three days before departure, confirm the items that could disrupt the trip: identification, tickets, lodging, transportation, medications and weather. Move the final details into your planner and save an offline copy of critical confirmations.
After that review, use the planner as a reference rather than a rulebook. The goal is to spend less time searching for information and more time being present on the trip.
Put the guide into practice
Related printable planners
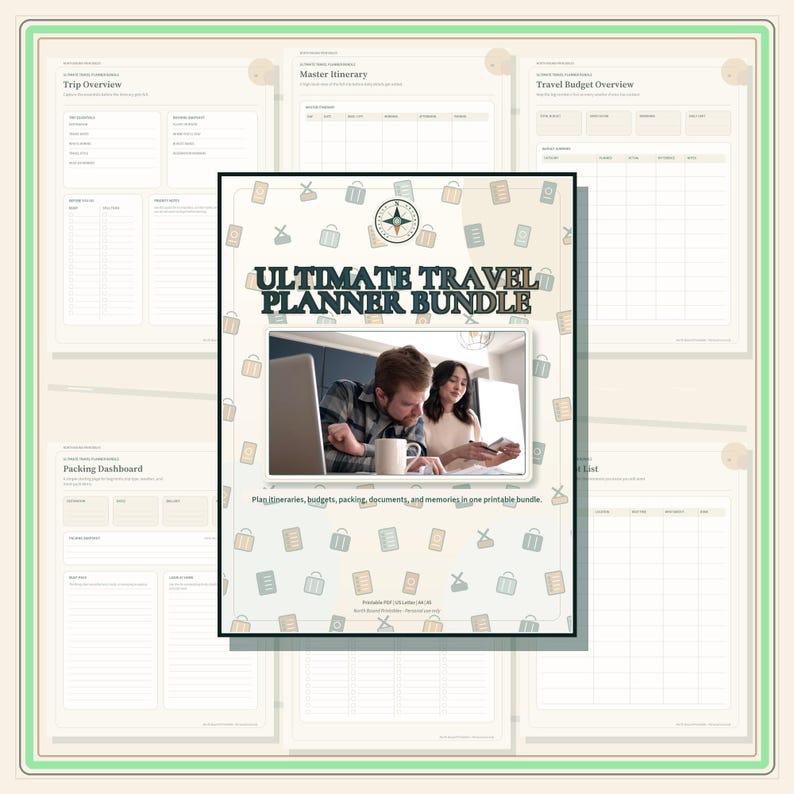
Bundles
Ultimate Travel Planner Bundle
The biggest bundle — 61 printable pages covering itinerary, budget, packing and trip planning.
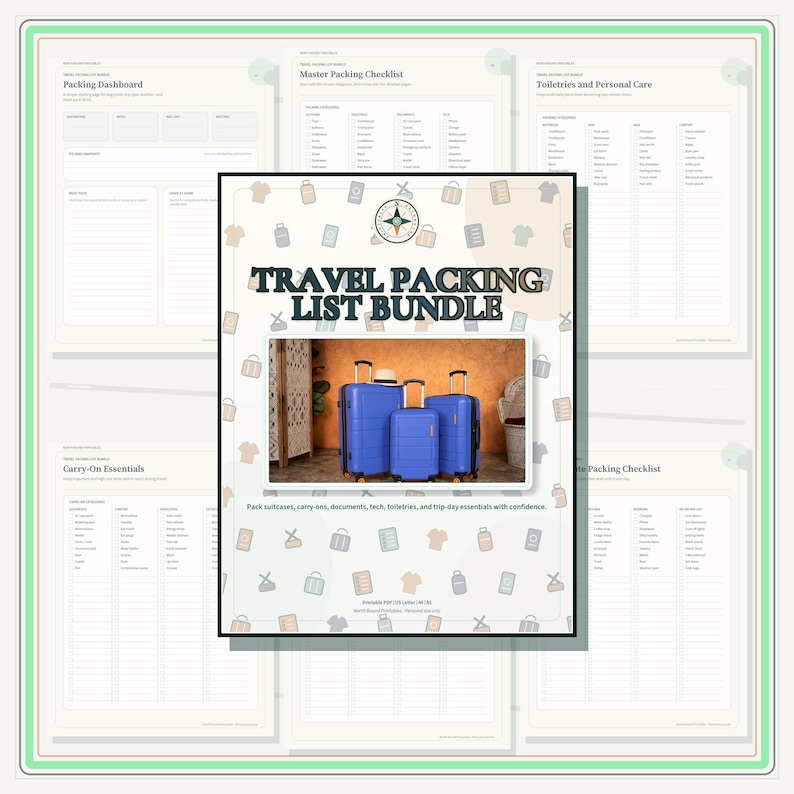
Packing Lists
Travel Packing List Bundle
A full set of packing checklists for every kind of trip, 26 pages.